Annotating an image such as adding arrows or text helps to build a better understanding and a clear image of what you’re describing to your viewers. If you often use Google Docs and are looking for a way to annotate images while drafting, you’ve come to the right spot. In this explainer, we have listed some easy methods to add arrows, text, and scribble on images in Google Docs to make them more impactful. Meanwhile, you can also learn to save images from Google Docs across various platforms.
How to Add Arrows, Text, and Scribble on Images in Google Docs?
Adding text and annotating your images with arrows can help you highlight essential pieces of information inside your image. This in turn saves the reader’s time by allowing them to focus on important things that are listed in your document. Now, let’s look at the five effective methods to annotate your images using Google Docs.
Add Arrows, Text, and Scribble on Images using the Drawing Feature
Google Docs offers a drawing feature through which you can easily import an image, add arrows/text, or scribble on it to mark important elements. Here’s how you can use this feature to your advantage:
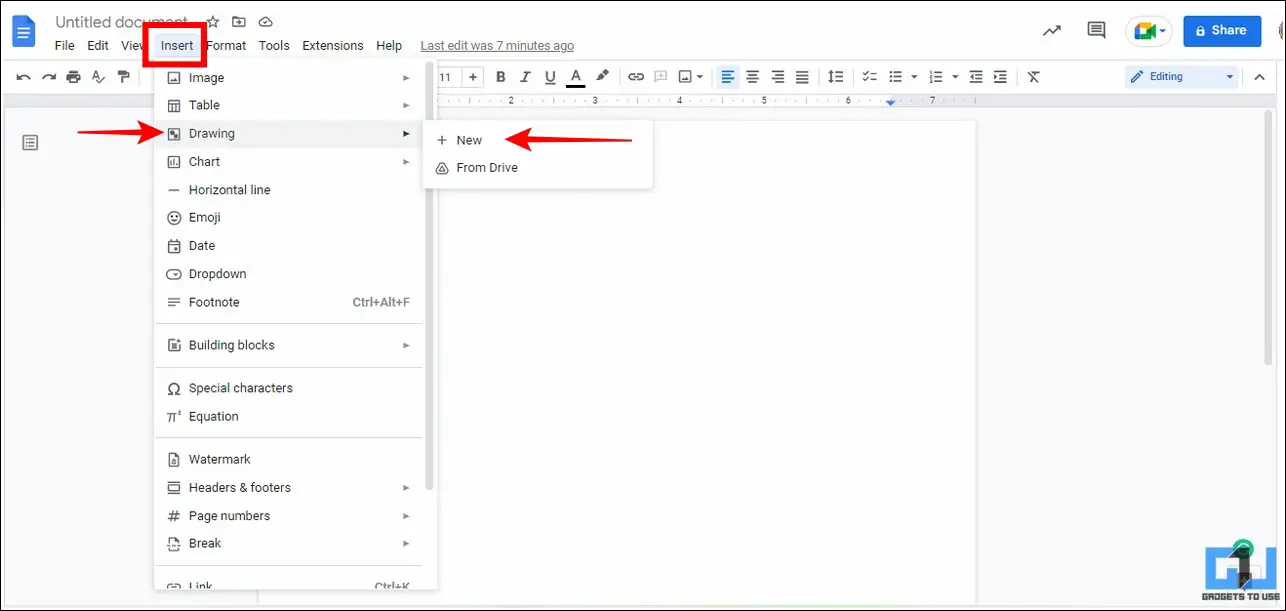
1. Open your desired Google Docs file and click on it Insert tab at the top to add a new drawing to your document.
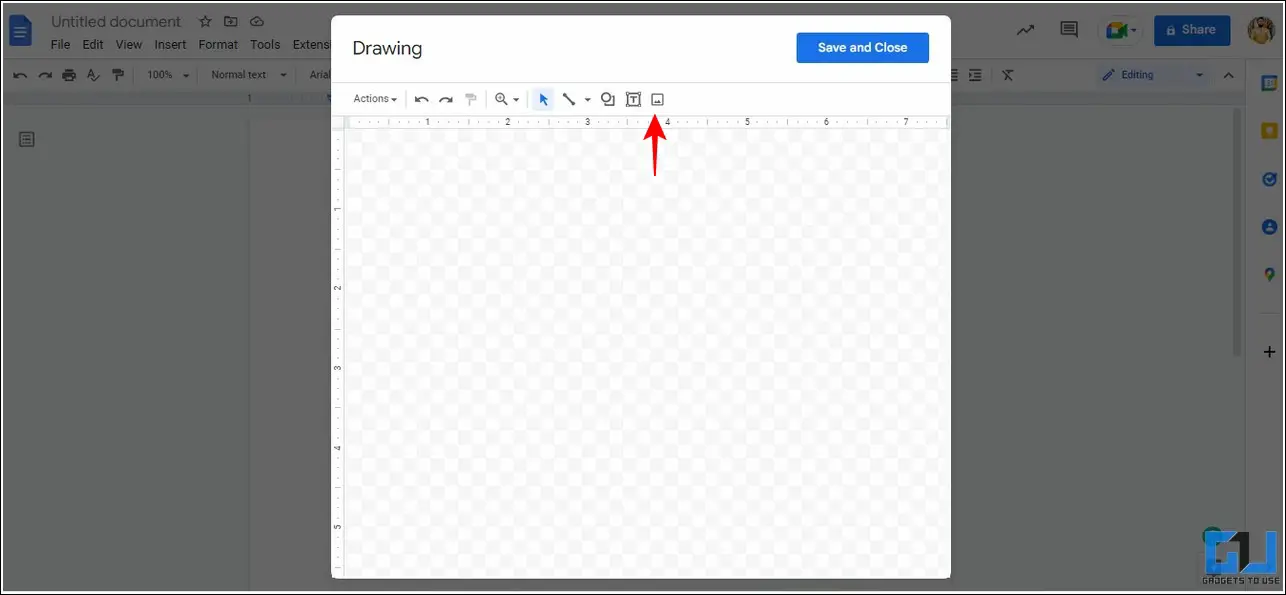
2. Next, click on the Image button in the toolbar to pick and upload your desired image for editing.
3. Now, to add arrows to the uploaded image, click on the Shape button and choose your desired arrow shape to add it.

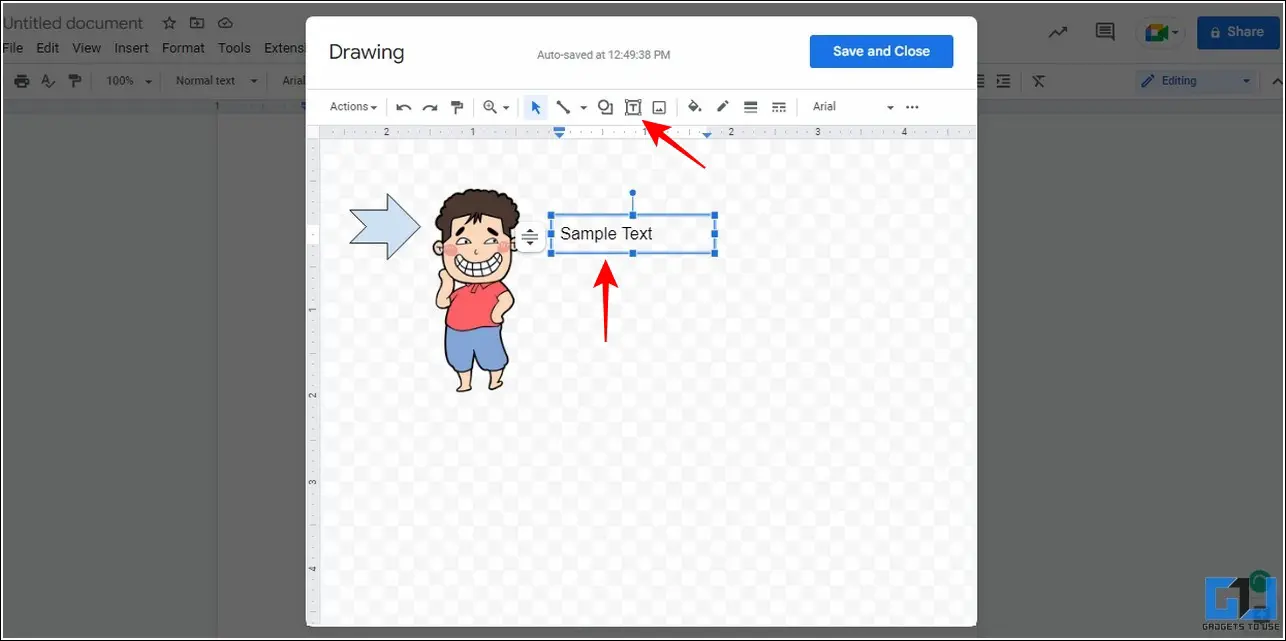
4. Similarly, click on the Textbox button in the toolbar to add text to the image.
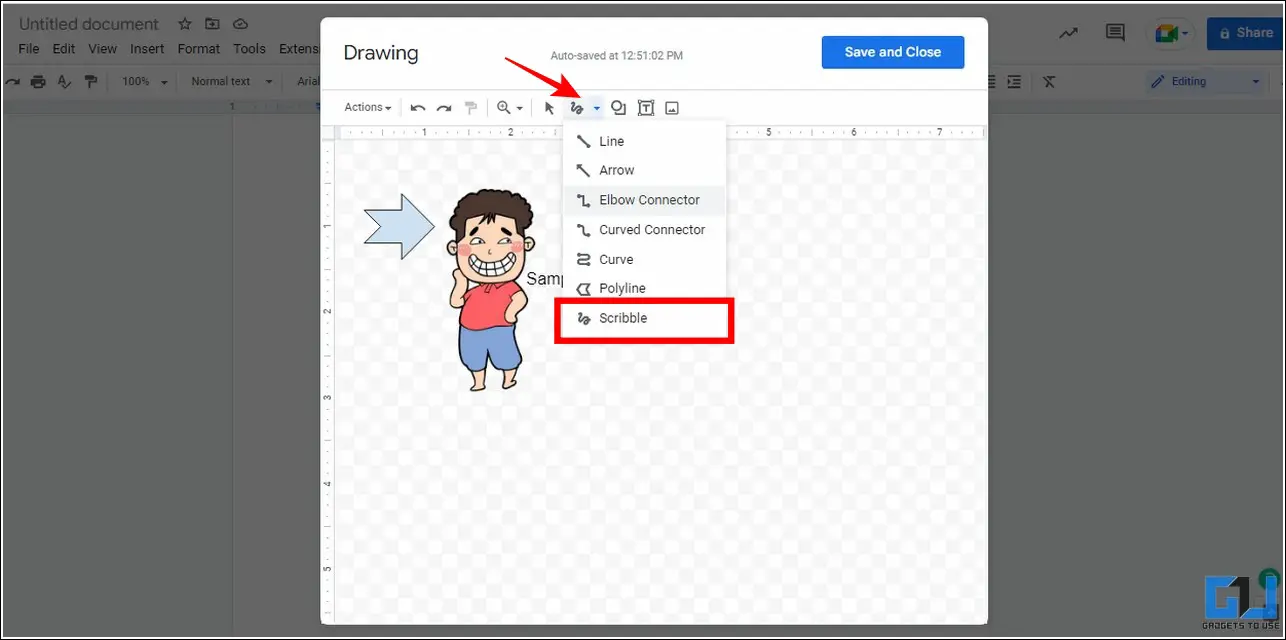
5. Finally, click the Line tool to pick the Scribble feature.
6. Once selected, you can drag the mouse cursor over your image to draw freely over it.
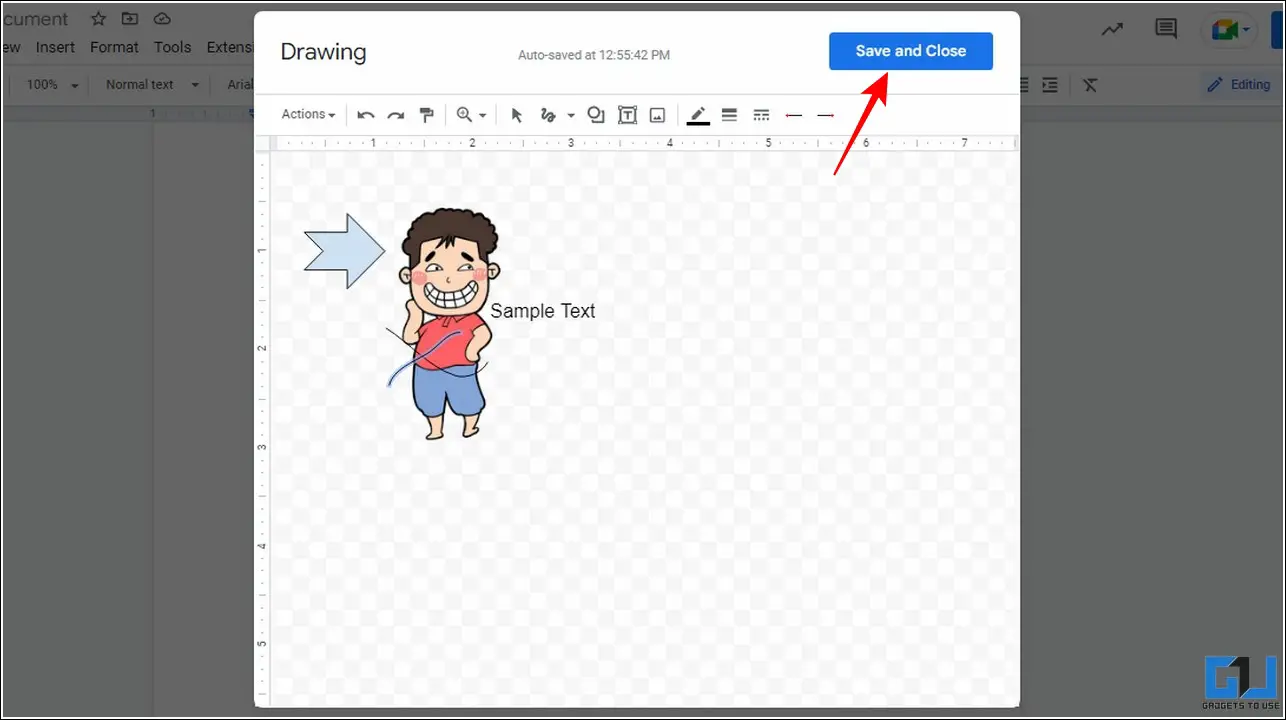
7. Upon successful editing, click on the Save and Close button to save changes and add the image to your Google Docs document.
Adjust Images in Google Docs using Image Options
Besides editing images, Google Docs allows you to adjust your selected image inside the document by changing it size, rotation, and text-wrapping parameters. Here’s how:
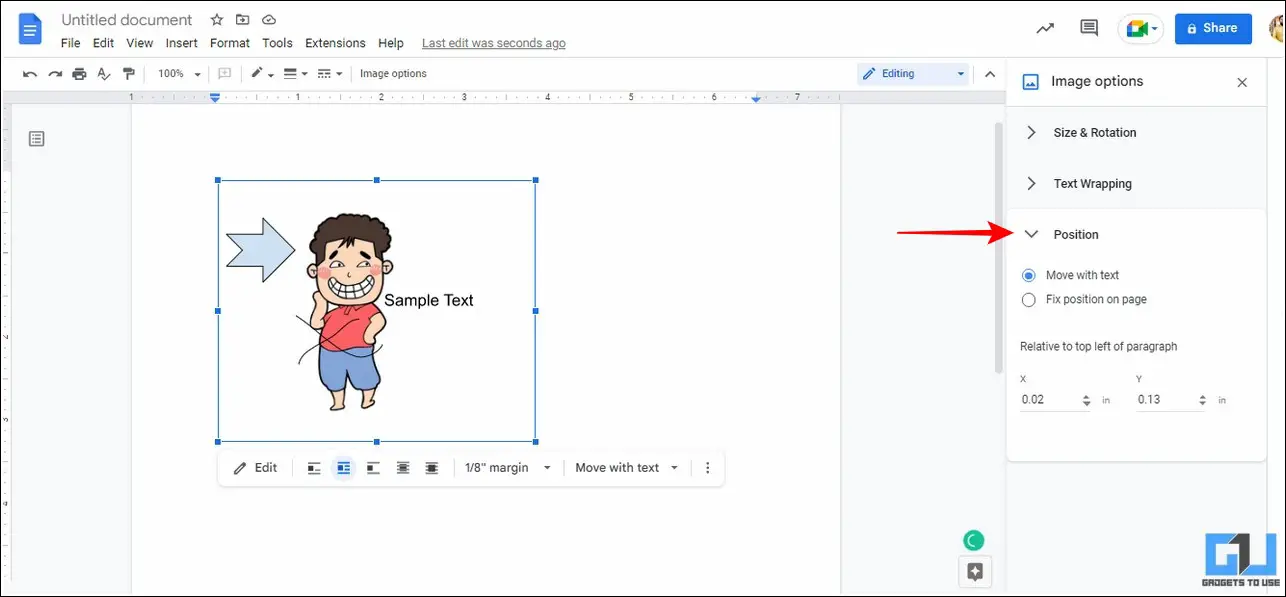
1. Select your preferred image and click on it three-dot icon below it to configure Image options.
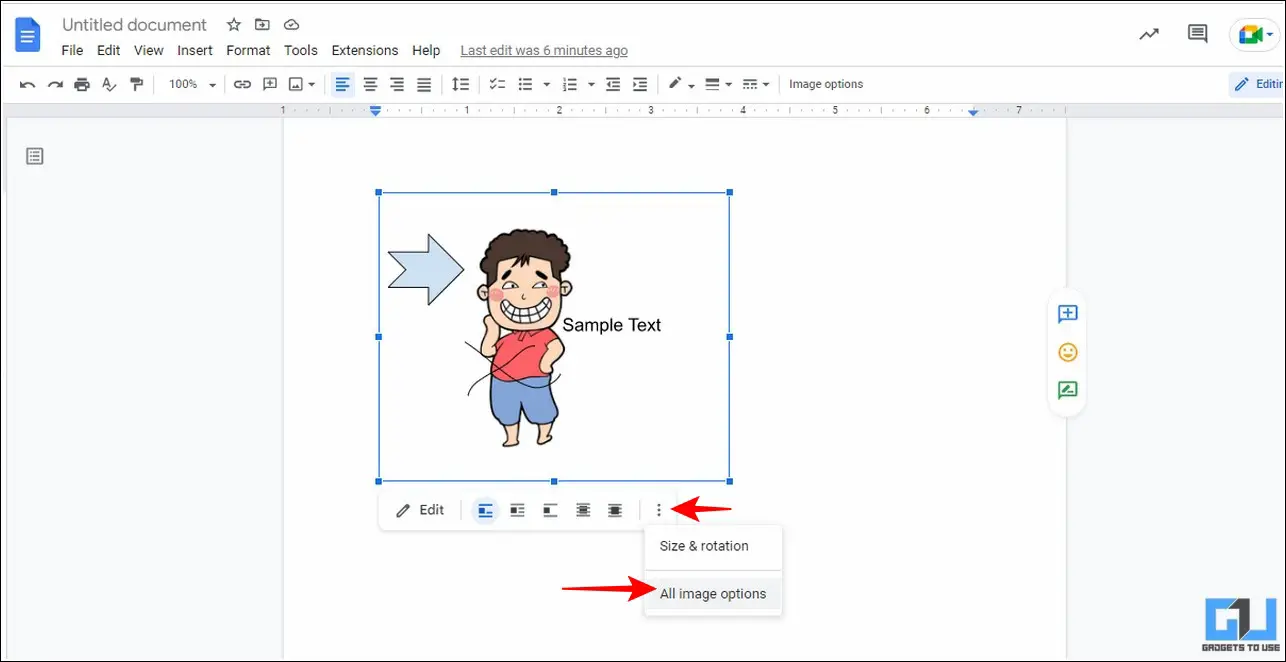
2. It will open a sidebar on your screen containing various configurable Image Options such as Size, Rotation, and Text-Wrapping.
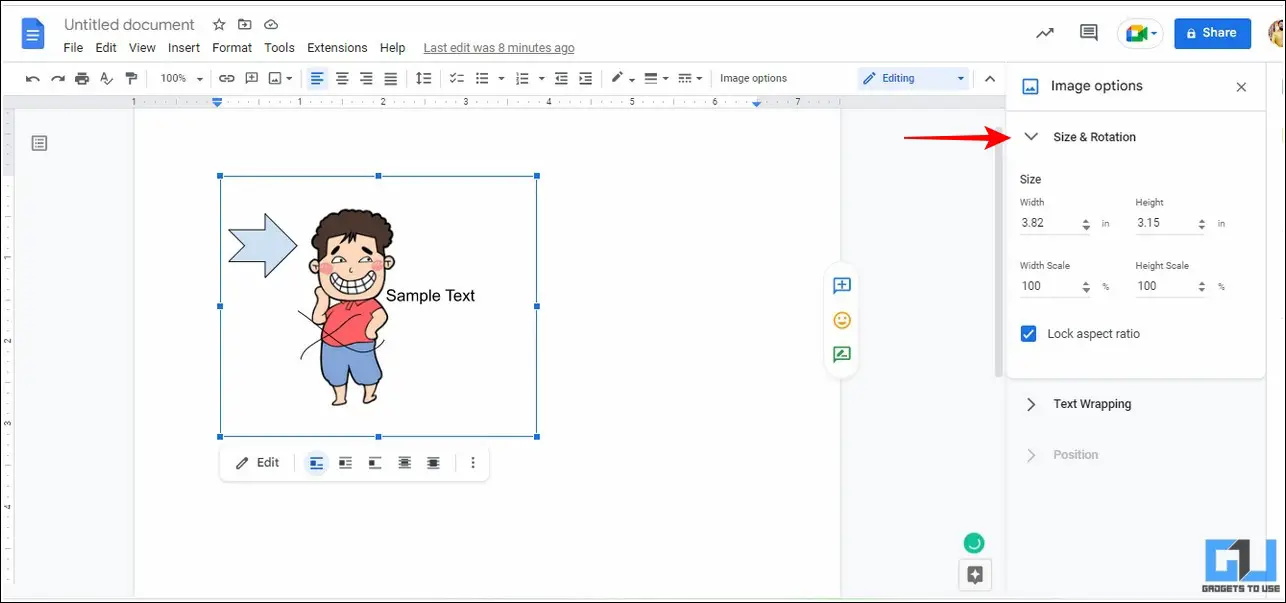
3. Expand the Size and Rotation tab on the right to set your desired size and rotation value.
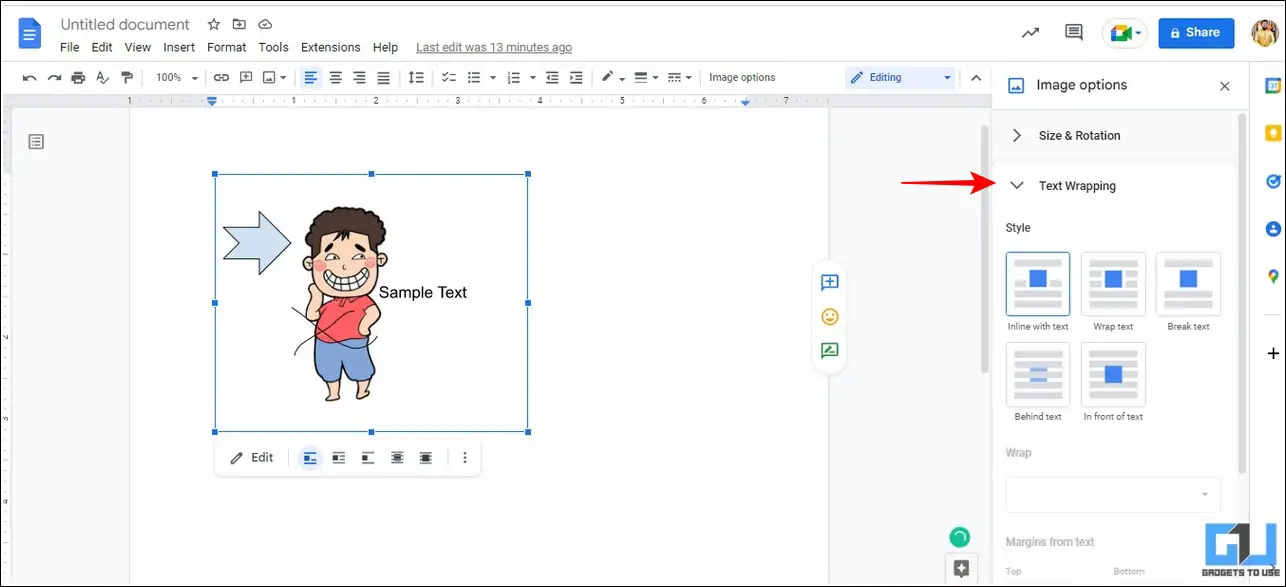
4. Similarly, you can expand the Text Wrapping option from the right sidebar to pick your desired style to wrap the text inside the document.
5. Finally, you can use the Position option to either fix the position of your selected image or make it scrollable with text inside the online document.
Use Markup Hero Chrome Extension to Add Arrows, Text, and Scribble on Screenshots
Instead of manually taking screenshots and editing them using heavy image editing tools, you can use an extension in your browser to quickly take a screenshot and add various annotations to it such as arrows, text, and scribbles. Once edited, you can copy-paste the image directly to your Google Docs file with a single click. Here’s how to use it:
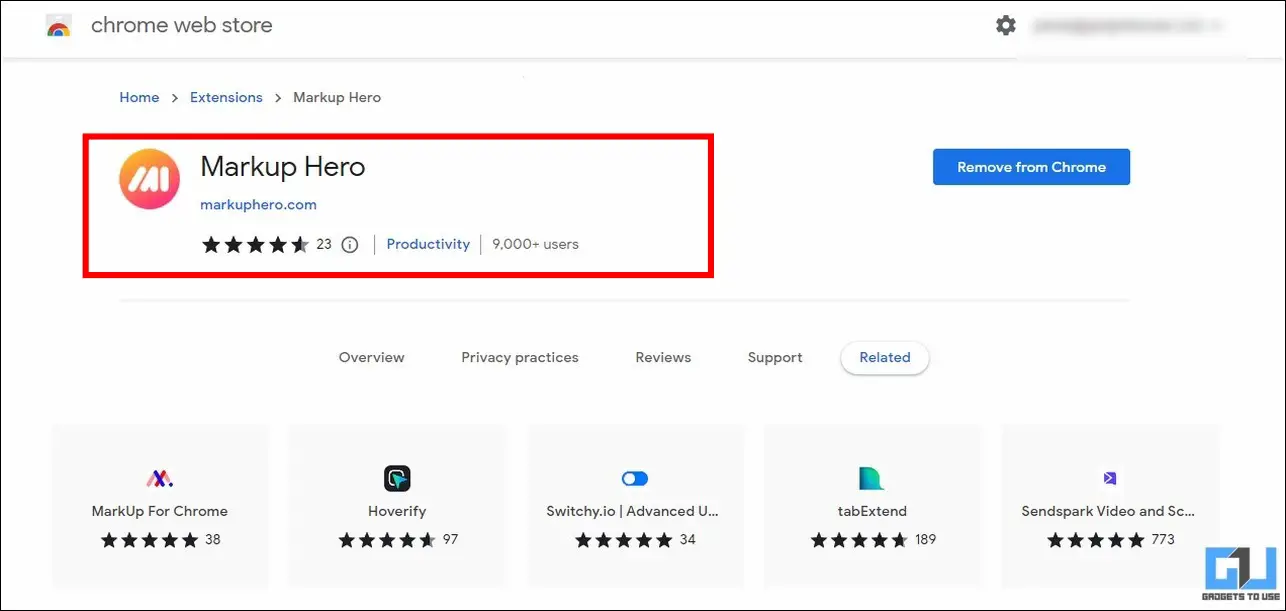
1. Install the Markup Hero Extension from Google Chrome to your web browser.
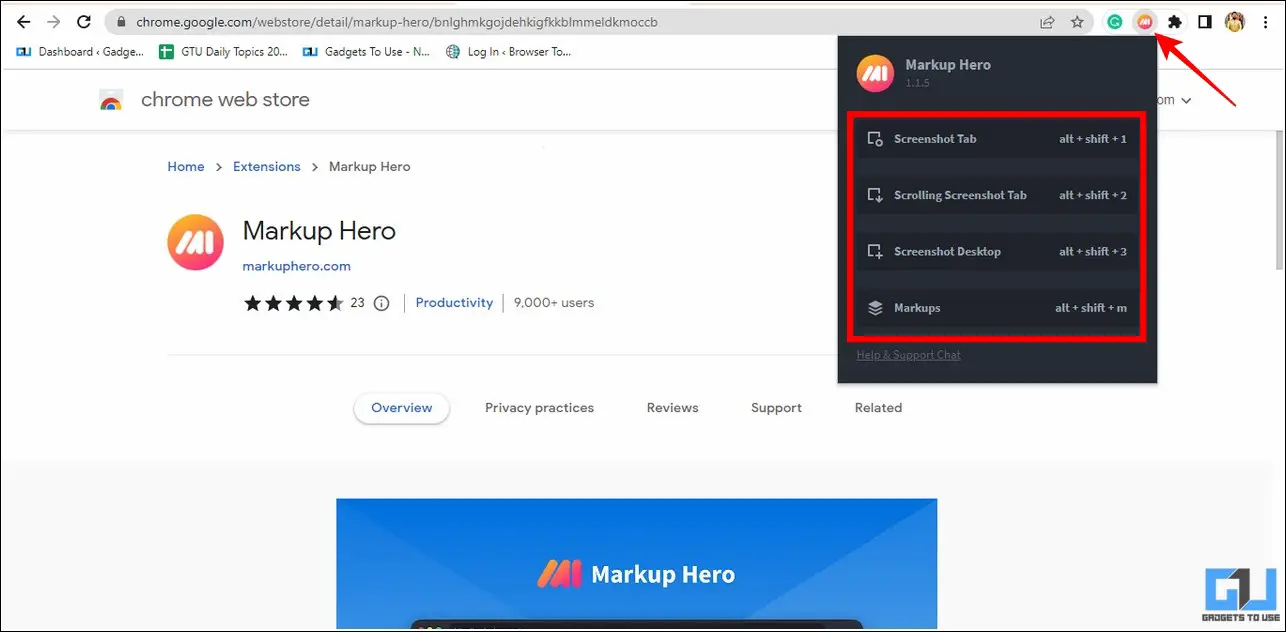
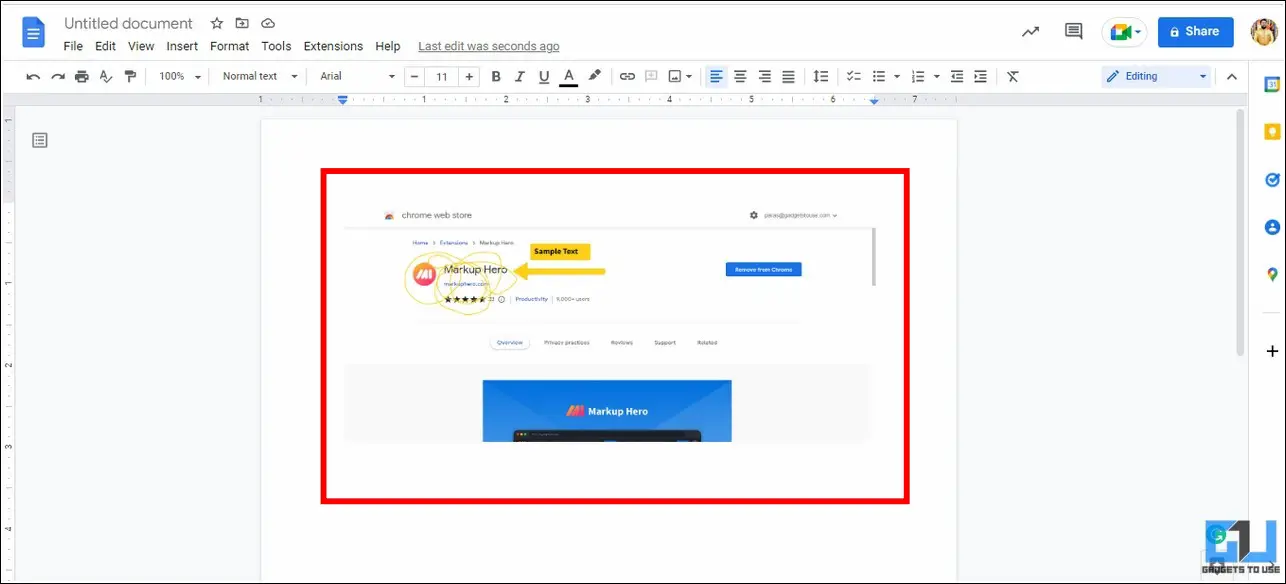
2. Next, open the installed extension and choose a method to capture the screenshot. Once captured, you will be redirected to the editor window where you can use different tools to edit the captured image.
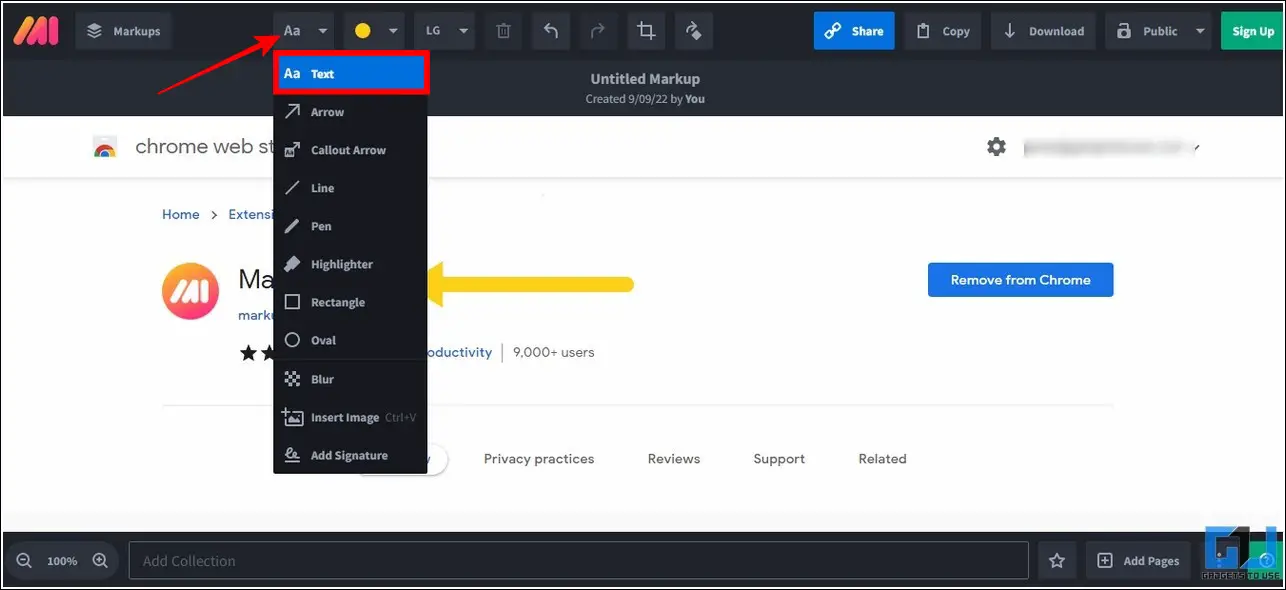
3. To add an arrow to your image, click on the Markup tools button from the toolbar at the top and choose the Arrow option.
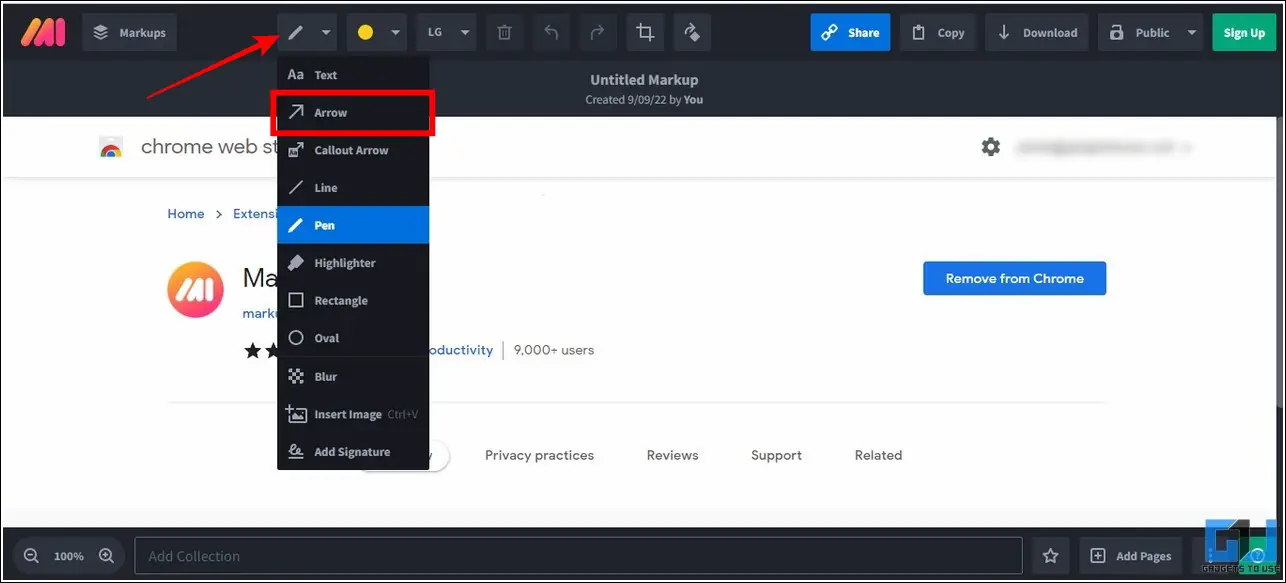
4. Drag your mouse cursor over the area where you want to highlight something.

5. Similarly, pick the Text option under the Markup Tools to add your desired text to the screenshot.
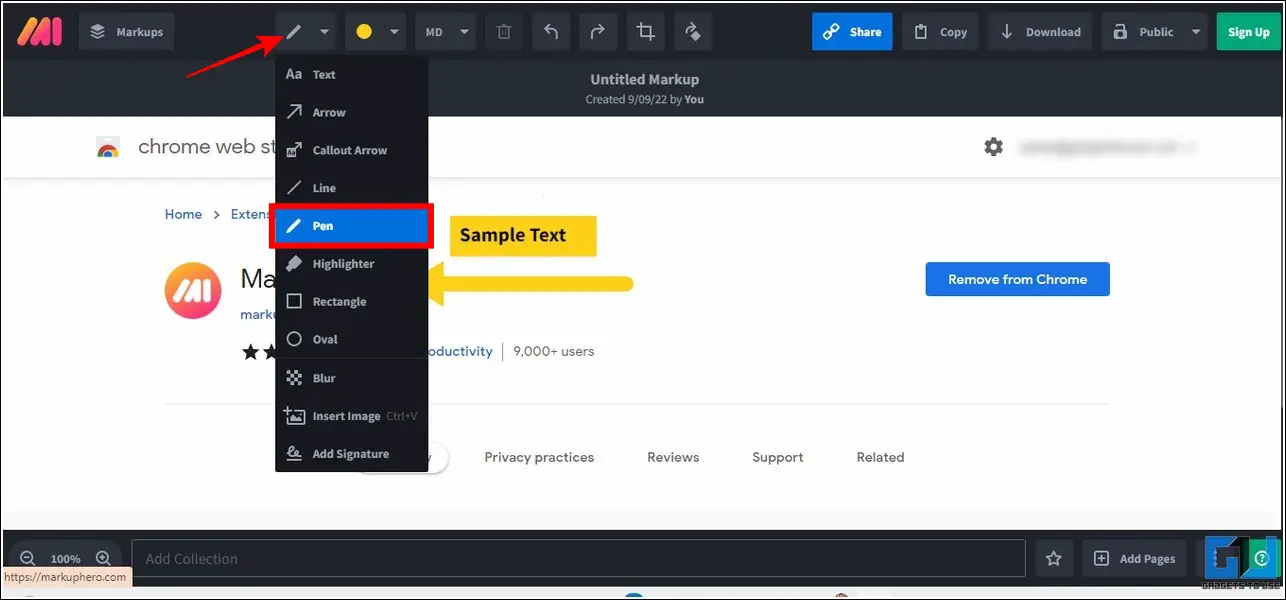
6. Further, you can pick the Pen tool to scribble and write something over your screenshot in a freehand style.
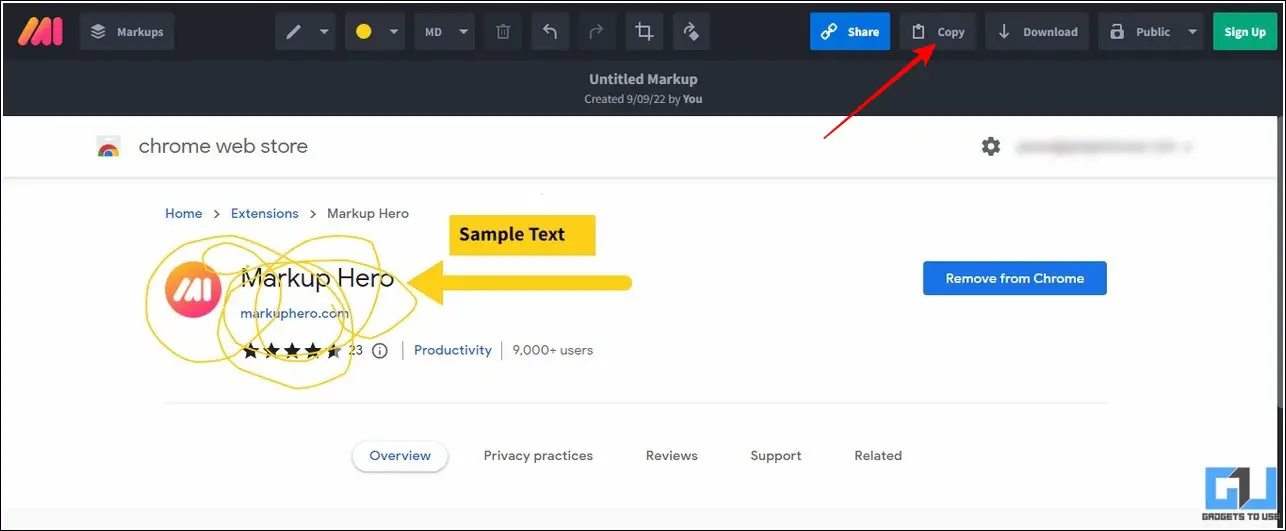
7. Once the editing is complete, click on the Copy button to add it to your system’s clipboard.
8. Finally, head over to your Google Docs file and paste the copied image using the right-click context menu.
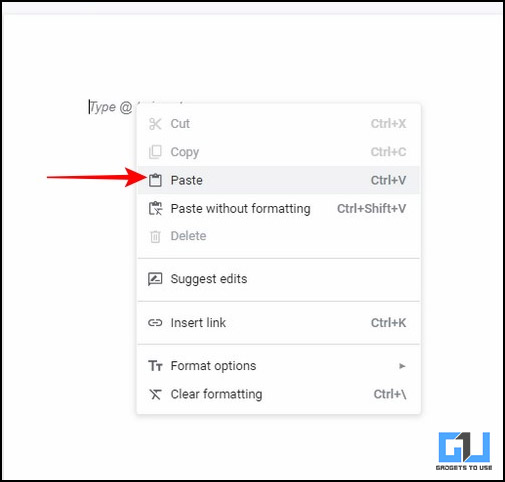
9. Alternatively, you can press the Ctrl+V hotkey to directly paste the edited image into your online document.
Edit Images and Screenshots on Various Platforms before Adding them to Google Docs
In addition to the nifty methods mentioned above, we have crafted an entire guide to add blur, text, arrows, and presentation effects to screenshots across various platforms such as android, iOS, Windowsand Mac.
Bonus Tip: Add Images and Text Watermark in Google Docs
Protecting our valuable work such as screenshots and images, and documents is a top priority concern in the current digital era. We have a detailed guide for adding text, or image watermark in Google Docs files, to help you easily achieve the same.
FAQs
Q: How to draw over an Image in Google Docs?
A: You can either use the Drawing feature for Google Docs to draw over any image inside your document or annotate it using the Markup Hero extension before you upload it to Google Docs.
Q: Can you label a diagram on Google Docs?
A: Yesyou can conveniently add a caption or title to your image while annotating it using the Drawing feature on Google Docs.
Wrapping Up: Annotate Images Easily on Google Docs
So, that’s all for the top four ways to add arrows, text, and scribble on Images in Google Docs. I hope this guide has helped you to create influential images in docs by annotating with arrows and text. Hit the like button and share it, if you found this useful. Check out other tips linked below, and stay tuned for more informative explainers.
You might be interested in:
You can also follow us for instant tech news at Google News or for tips and tricks, smartphones & gadgets reviews, join GadgetsToUse Telegram Group or for the latest review videos subscribe GadgetsToUse Youtube Channel.